
Your driveway is the first thing that visitors or potential buyers see when they come to your home. Therefore, it is essential to maintain your driveway properly to enhance your home's curb appeal and increase its value. One common issue that many homeowners face is asphalt cracks. Fortunately, fixing it is not only necessary, but it can also be straightforward to handle. In this post, we'll share some tips on how to DIY an asphalt crack repair for a successful project.
Before you begin any repair, start by preparing the surface area by removing any debris, dirt, or vegetation that may affect the adhesion. Once you've cleared the area, use a wire brush to remove any loose debris and blow out the cracks with a leaf blower. If there is any grease or oil, use an asphalt cleaner to remove it. This will ensure a clean surface to establish a strong bond between the crack filler and the asphalt.
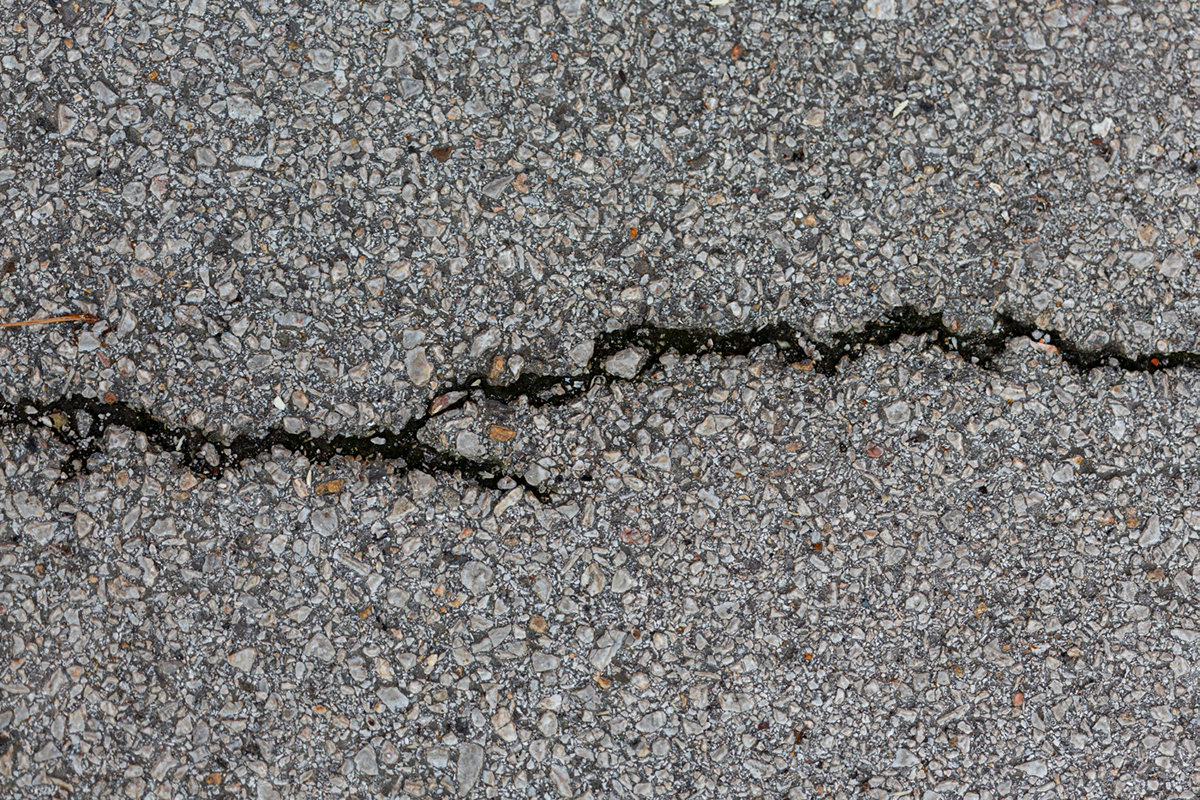
One of the best ways to fill asphalt cracks is by using a crack filler. These products are readily available in hardware stores and provide excellent results. However, it is crucial to choose the right crack filler for the job. Firstly, check the size of the crack, and then choose the compatible crack filler that suits your needs. Start by pouring the filler into the crack until it is slightly higher than the surface level. Then, use a trowel to even out the filler, and let it dry according to the manufacturer's instructions.
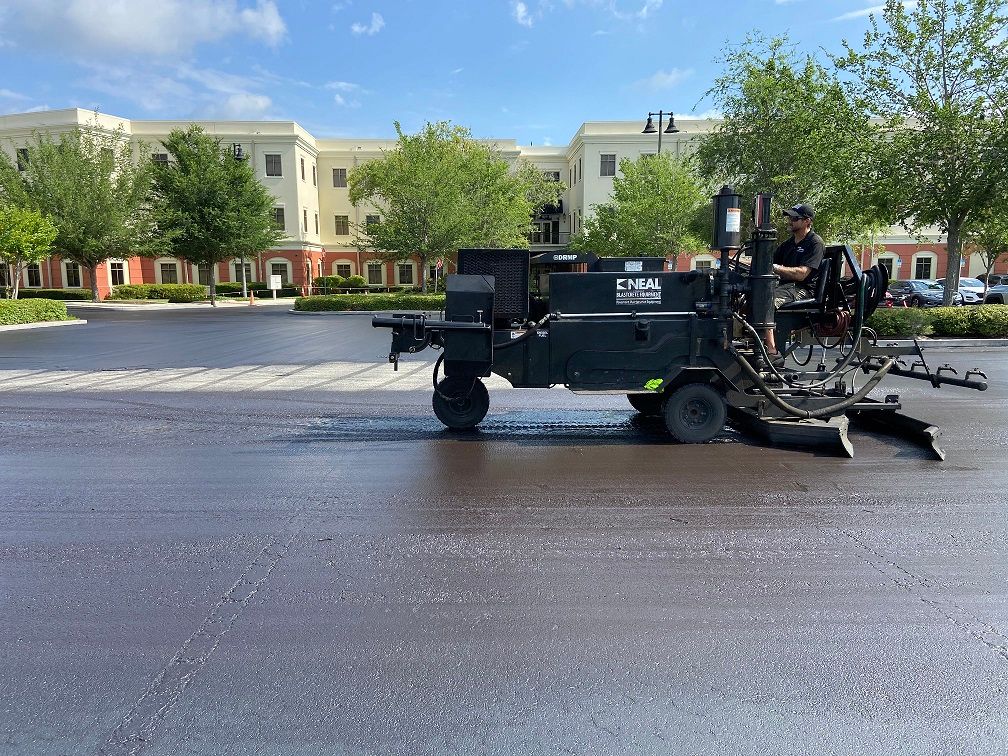
After the crack filler has dried, you should apply a sealant to prevent moisture from seeping in and causing further damage. The sealant will also prevent UV rays from causing the oxidization process to make the asphalt dull, cracked or brittle. Start by stirring the sealant so that it has a consistent texture, then use a brush or squeegee to apply it in a thin and even layer. Make sure no areas are missed, and apply another layer until you get the desired thickness.
After you've completed the repair, avoid driving or walking over the surface until it has completely dried. A new coat of sealant generally takes 24-48 hours to dry, depending on the weather conditions. Therefore, make sure the area is clear of any debris and cover it with a tarp if necessary, to prevent any further damage from water or the excess sun rays. Keep in mind that water damage could wipe away your efforts within moments.
Asphalt cracks are a common issue that most homeowners can handle. However, suppose you are unsure about the repair process or the crack is too big to fix on your own. In that case, it is best to call a professional to handle the repair. Professionals have the proper equipment and training to ensure that the job is done right, the first time.
Asphalt crack repair is essential to maintaining a healthy driveway and their tips on how to DIY this repair will assist you in achieving just that. By preparing the surface, choosing the right crack filler, applying a sealant, keeping the area dry, and calling for professional assistance if needed, you can successfully repair the cracks in your driveway, giving it a fresh look and adding value to your home. However, if the crack is too wide or you are unsure about the process, it is best to leave the job to the professionals. Contact Florida Sealcoating today for a free estimate and professional sealcoating service in Orlando to enhance your driveway's curb appeal and prolong its lifespan.
Get a free, no-obligation estimate for your asphalt project. Our team is ready to help protect and enhance your property.
(407) 942-3681