Asphalt driveways are a common sight in American neighborhoods, with their durability and affordability making them an ideal choice for many homeowners. However, over time, wear and tear can cause cracks and potholes to appear in your driveway, which can be both unsightly and potentially dangerous. The good news is that asphalt repairs are relatively easy to carry out, provided that you take the time to prepare your driveway properly. In this blog post, we'll guide you through the steps needed to prepare your driveway for asphalt repair, so you can get your driveway looking as good as new in no time.
The first step in preparing your driveway for asphalt repair is to clear the area around the damage as much as possible. This means removing any loose debris, such as gravel, stones, or dirt, from the affected area. You should also consider removing any adjacent grass or vegetation, or at least trimming it back so that it doesn't interfere with the repair process.
Once you have cleared the immediate area around the damage, the next step is to clean the surface of the driveway thoroughly. You can do this by using a high-pressure washer to remove any dirt or debris that may have accumulated on the surface over time. This will ensure that the repair material adheres properly to the surface of the driveway.
Once you have cleaned the surface of the driveway, the next step is to fill any cracks or potholes that may have appeared. You can do this using a specially designed crack filler, which should be applied according to the manufacturer's instructions. Make sure that the filler is completely dry and cured before moving on to the next step.
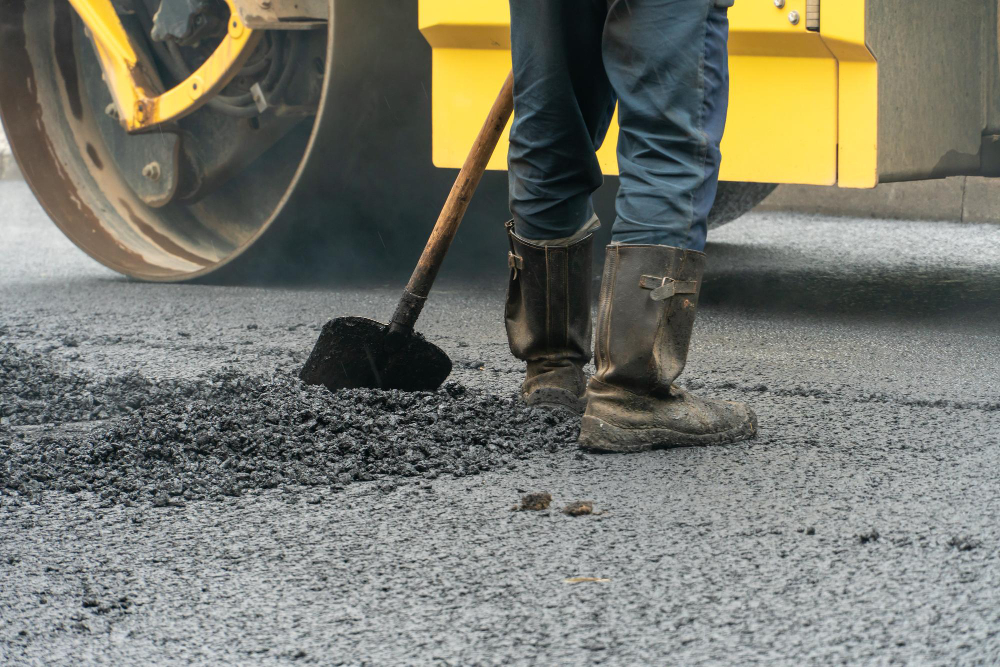
The final step in preparing your driveway for asphalt repair is to apply the asphalt patch to the damaged area. You can do this using a trowel or a putty knife, spreading the patch evenly over the affected area. Make sure that the patch has a smooth, even surface, and that it is slightly higher than the surrounding area to allow for settlement.
Once you have applied the asphalt patch to the damaged area, it's important to allow it to cure properly. This usually takes around 24-48 hours, depending on the temperature and humidity levels in your area. During this time, you should avoid driving or parking on the repaired area, as this could cause the patch to become uneven or even dislodge.
Asphalt repairs may seem daunting at first, but with proper preparation, they can be carried out relatively easily. By following the steps outlined in this blog post, you can prepare your driveway for asphalt repair, ensuring that the repair material adheres properly and lasts for years to come. If you need help with asphalt repairs in Orlando, FL, contact Florida Sealcoating today for a free estimate. Our experienced and professional team can help you get your driveway looking as good as new in no time.
Get a free, no-obligation estimate for your asphalt project. Our team is ready to help protect and enhance your property.
(407) 942-3681