Your driveway or parking lot faces constant assault from Florida's intense sun, torrential rains, and heavy traffic. Without proper protection, that smooth asphalt surface can quickly deteriorate into a cracked, faded eyesore that costs thousands to replace.
Sealcoating offers a proven solution to extend your pavement's lifespan while maintaining its appearance. This protective layer acts as a barrier against the elements, preventing water infiltration, UV damage, and chemical spills from wreaking havoc on your asphalt investment.
This comprehensive guide covers everything you need to know about sealcoating, from understanding the process to recognizing when your pavement needs attention. Whether you're a homeowner looking to protect your driveway or a business owner maintaining a parking lot, you'll discover how this preventive measure can save you money and headaches down the road.
Sealcoating involves applying a protective liquid coating over existing asphalt surfaces. This coating, typically made from coal tar or asphalt-based materials, creates a barrier that shields the underlying pavement from environmental damage.
The process works by filling small cracks and surface imperfections while creating a uniform, water-resistant layer. When properly applied, sealcoating prevents water from penetrating the asphalt base, which is crucial since water infiltration is one of the primary causes of pavement failure.
The coating also contains additives that provide UV protection, preventing the sun's rays from breaking down the asphalt binder that holds the pavement together. This protection is especially important in Florida's climate, where intense sunlight can cause rapid deterioration of untreated surfaces.
Regular sealcoating can double or even triple the life of your asphalt surface. By preventing water damage and oxidation, you're protecting your investment and delaying the need for costly replacement.
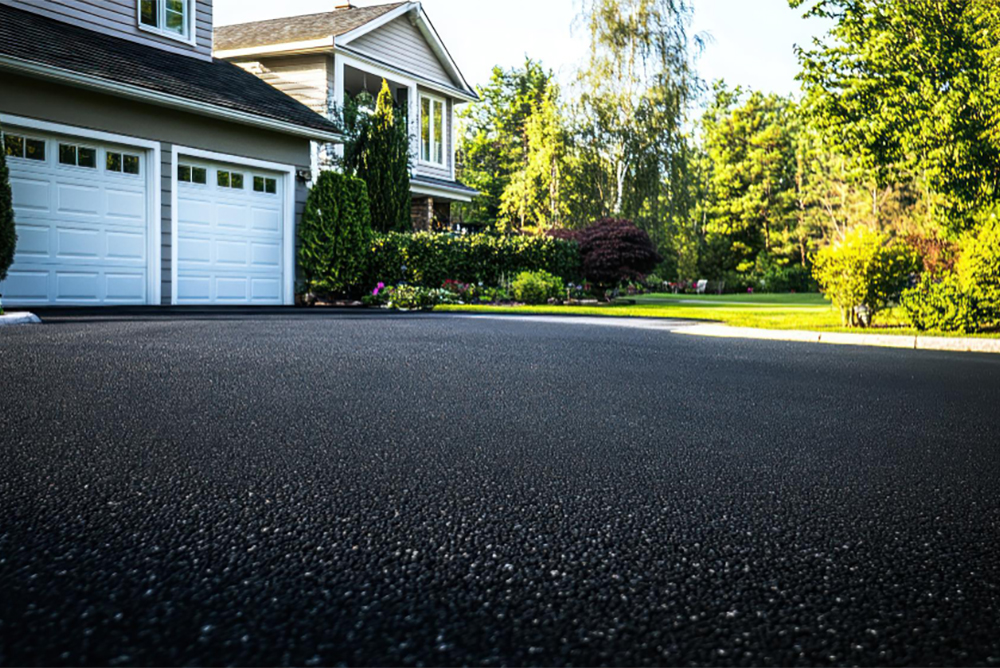
Fresh sealcoating restores that rich, black appearance that makes pavement look newly installed. This enhanced curb appeal benefits both residential and commercial properties, potentially increasing property values.
Preventive sealcoating costs significantly less than major repairs or replacement. A small investment in sealcoating every few years prevents the need for expensive reconstruction projects.
Florida's extreme weather conditions—from hurricane-force winds to scorching summer heat—take a toll on pavement. Sealcoating creates a protective barrier against these elements, particularly important for properties in coastal areas like Daytona Beach.
Sealed surfaces are easier to clean and maintain. Snow removal becomes simpler (when needed), and oil stains or other spills can be cleaned more effectively from sealed pavement.
Contrary to common belief, newly installed asphalt should not be sealed immediately. Wait 6-12 months to allow the pavement to cure properly. Premature sealcoating can trap oils in the asphalt that need to evaporate naturally.
Several indicators suggest your pavement needs sealcoating:
The best time for sealcoating in Daytona Beach, FL is during dry seasons when temperatures remain consistently above 50°F for at least 24 hours after application. Spring and fall typically provide ideal conditions, avoiding the peak summer heat and rainy season.
Proper preparation is crucial for sealcoating success. The process begins with thorough cleaning to remove dirt, debris, and vegetation. Pressure washing may be necessary to eliminate stubborn stains or buildup.
Any cracks wider than 1/4 inch require filling before sealcoating. Oil stains need treatment with special primers, as sealcoating won't adhere properly to contaminated surfaces.
Professional contractors use two primary application methods:
Spray Application: Faster coverage for large areas like parking lots, providing even distribution when performed by experienced technicians.
Squeegee Application: Often preferred for residential driveways, this method allows for thicker application and better control over coverage.
After application, sealcoating requires 24-48 hours to cure properly, depending on temperature and humidity. During this period, the surface must remain free from traffic, water, and debris.
Homeowners can purchase sealcoating materials from hardware stores, but several factors make professional application preferable:
Hiring experienced contractors ensures proper surface preparation, appropriate material selection, and correct application techniques. Professional work typically comes with warranties and guarantees that protect your investment.
Inspect your sealed pavement annually, looking for signs of wear, new cracks, or drainage issues. Early identification of problems allows for timely repairs before major damage occurs.
Regular cleaning extends sealcoating life. Remove debris promptly, clean oil spills immediately, and avoid using harsh chemicals that might damage the coating.
Heavy vehicles or sharp objects can damage fresh sealcoating. Avoid placing dumpsters, trailers, or other heavy equipment on recently sealed surfaces.
Sealcoating costs vary based on surface area, condition, and local market factors. However, the investment typically pays for itself through extended pavement life and reduced repair needs.
Consider that complete asphalt replacement can cost 10-15 times more than regular sealcoating maintenance. This dramatic cost difference makes sealcoating one of the most cost-effective pavement preservation strategies available.
Sealcoating represents a smart investment in your property's long-term value and functionality. By understanding the process, timing, and benefits, you can make informed decisions about maintaining your asphalt surfaces.
Regular sealcoating, combined with prompt repairs and proper maintenance, ensures your driveway or parking lot remains functional and attractive for years to come. The key lies in working with experienced professionals who understand local conditions and use quality materials.
If you need professional sealcoating in Daytona Beach, FL, contact Florida Sealcoating today for free estimates. Their experienced team can assess your pavement's condition and recommend the best maintenance strategy for your specific situation.
Get a free, no-obligation estimate for your asphalt project. Our team is ready to help protect and enhance your property.
(407) 942-3681