Asphalt is a durable and reliable material for driveways and parking lots, but it's not invincible. Over time, exposure to the sun's UV rays, rain, and chemical spills from vehicles can cause it to crack, fade, and deteriorate. This is where sealcoating comes in. A quality sealcoat acts as a protective barrier, extending the life of your pavement and keeping it looking fresh and black.
But what exactly happens during the sealcoating process? It's more than just painting a black layer over your asphalt. This guide will walk you through each step of a professional sealcoating job, so you know exactly what to expect. We'll cover everything from initial preparation to the final curing, ensuring you understand how to protect your asphalt investment.
Before we get into the "how," let's quickly cover the "why." Sealcoating is one of the most effective preventative maintenance tasks you can perform for your asphalt surfaces.
A professional sealcoating job is a multi-stage process that requires precision and the right equipment. Rushing any of these steps can lead to a subpar result that won't last. Here’s how the experts do it.
This is arguably the most critical step. A sealcoat will only adhere properly to a clean, dry surface. Any dirt, debris, or vegetation left behind will create a weak spot where the sealant can peel or flake away.
A professional crew will start by using high-powered blowers, wire brooms, and sometimes even pressure washers to remove all loose materials from the asphalt. This includes:
For stubborn oil and gas stains, special primers are applied. These primers create a barrier that prevents the chemicals from eating through the new sealcoat layer.
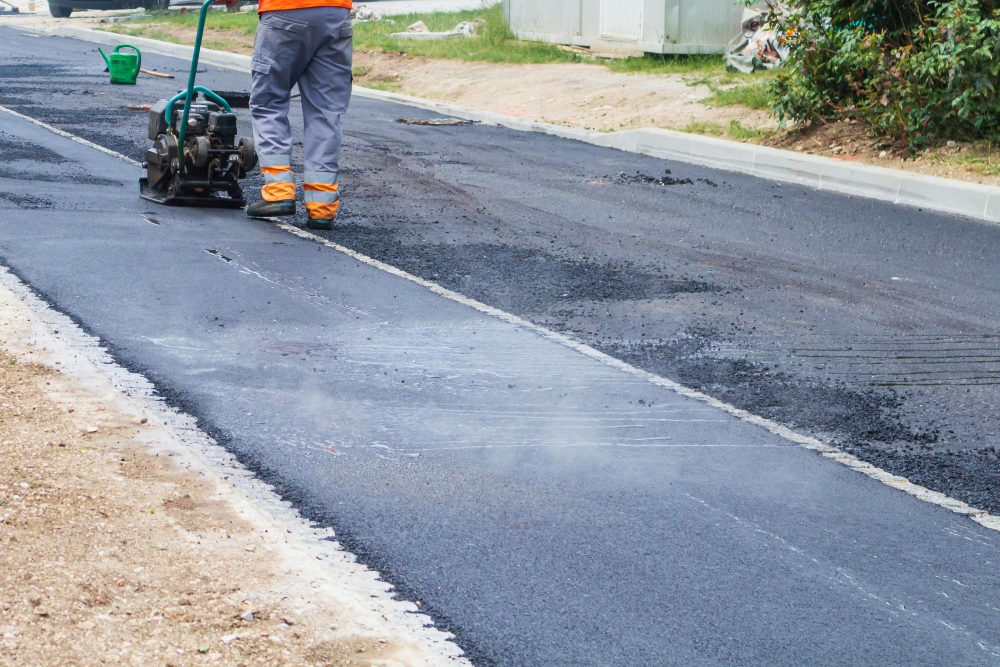
To ensure clean, crisp lines, the perimeter of the area to be sealcoated is carefully edged. This involves using a weed eater or blade edger to trim back any grass or weeds that are growing over the edge of the pavement. This step prevents the sealcoat from being applied over vegetation and ensures a professional finish that clearly defines the boundary between your lawn and your asphalt.
Sealcoating is a protective layer, not a structural repair solution. Applying it over existing damage like cracks and potholes is like putting a bandage on a broken bone—it won't fix the underlying problem.
Allowing these repairs to cure properly is essential before moving on to the next step.
Once the surface is clean, repaired, and completely dry, it's time to apply the sealant. There are two primary methods for application:
Most professional projects, especially for commercial lots in areas like Orlando, FL, will involve two coats of sealer. This ensures maximum protection and a longer-lasting finish.
The job isn't finished once the last coat is applied. The sealcoat needs time to cure properly. This is a chemical process where the liquid hardens into a durable, protective film.
The curing time depends heavily on the weather:
Typically, you should keep vehicles off the newly sealcoated surface for at least 24-48 hours. Walking on it is usually fine after a few hours on a warm, sunny day. The sealcoating crew will advise on the specific timeframe and will block off the area with tape or barricades to prevent accidental traffic.
Sealcoating is a smart, cost-effective way to preserve the life and look of your asphalt surfaces. By following a meticulous, multi-step process, a professional team can ensure your driveway or parking lot is protected from the harsh Florida elements for years to come. From deep cleaning and crack repair to the final application, every step is crucial for a durable and beautiful result.
If you're seeking professional sealcoating in Orlando, FL, don't settle for a quick, one-coat job. Ensure your investment is protected by experts who understand the complete process. Contact Florida Sealcoating today for a free estimate and let us help you extend the life of your asphalt.
Get a free, no-obligation estimate for your asphalt project. Our team is ready to help protect and enhance your property.
(407) 942-3681